Thursday, July 31, 2014

Dragonfly and Bee Burlap Panels Tutorial

Hi everyone! Welcome to another Sizzix tutorial, and it's a fun one, of a dimensional dragonfly and bee on top of mini burlap panels.

When I first saw these two dies, Tim Holtz Layered Dragonfly and Layered Bee die, I knew what technique I wanted to do with them. The wings were calling out for Wendy Vecchi's Clearly For Art Modeling Film, which you might already know that I like to use. The burlap panels measure 2.75 x 3.5 in. Let's begin.
 
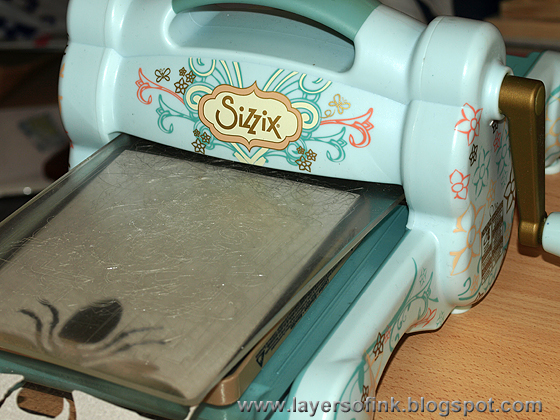
Start by die cutting a Layered Bee and a Layered Dragonfly from grungeboard. Cutting sandwich: cutting pad, die facing up, grungeboard, second cutting pad.
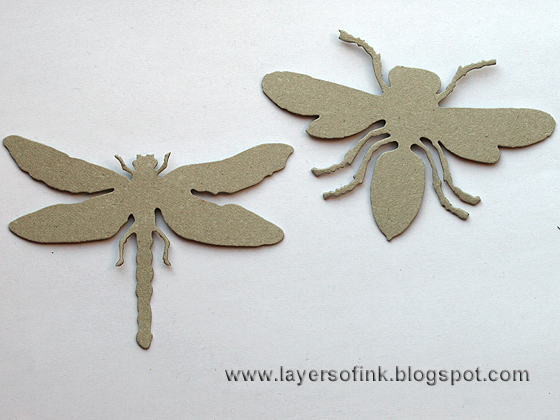
 
This is what they look like. Both these dies are steel-rule dies which means you can die cut thick materials.
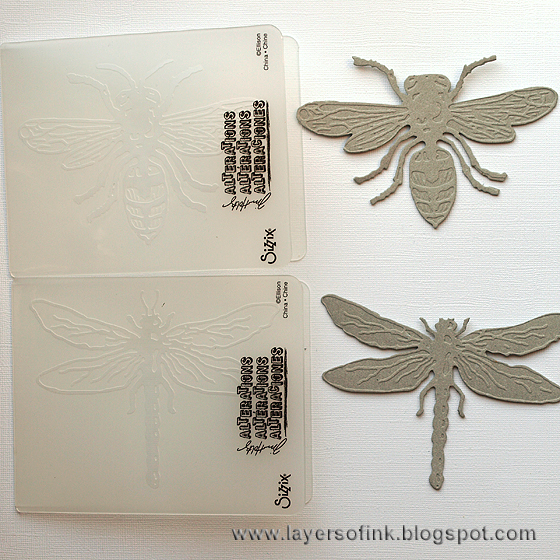
Included with the die is a coordinating embossing folder. Love the instant texture and detail.
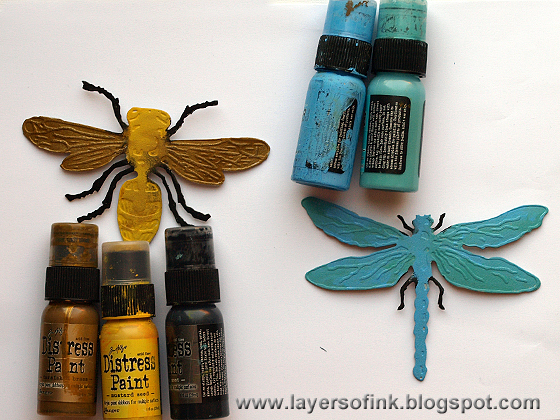
 
Paint with Distress Paint. I used Tarnished Brass for the wings of the fly, Mustard Seed for the body and Black Soot for the legs. The dragonfly was painted with Salty Ocean and Peacock Feathers.
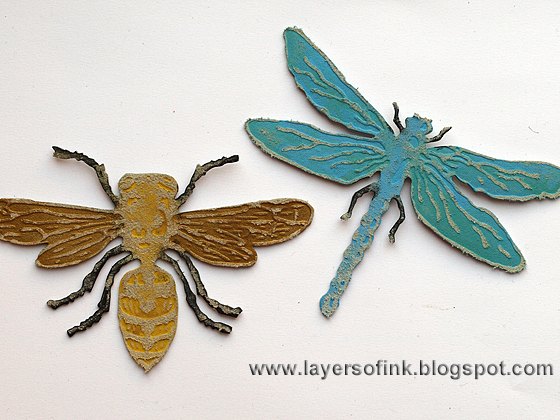
 
When the paint is dry, sand to remove some of the paint from the embossed areas.
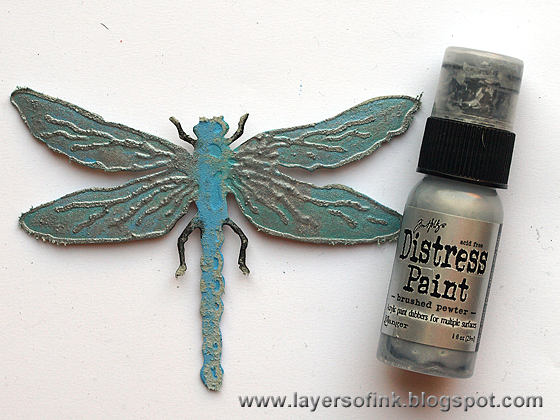
 
Later, I changed my mind and painted the wings of the Dragonfly with Brushed Pewter. After it was dry, I sanded the wings again. The metallic shine adds a really nice touch.
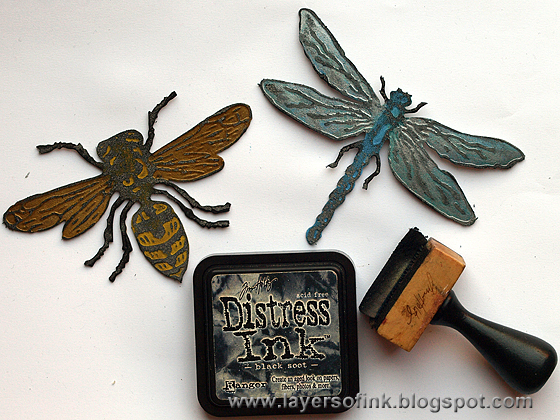
 
Ink with Black Soot. The ink will stick better to the sanded parts and if you want to, you can wipe if off from the paint.
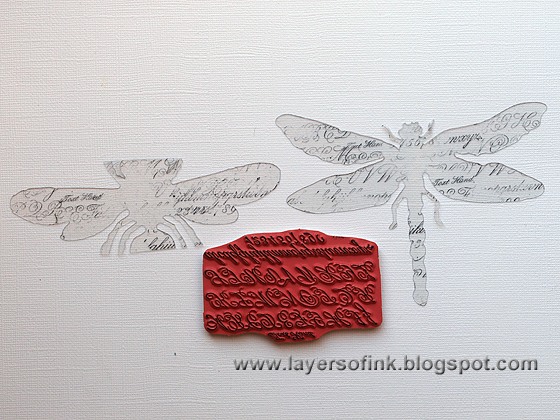
Die cut from Clear Modeling Film and stamp partially with a script stamp. As you can see, I didn't die cut the entire bee, because I was only planning to use the wings. 
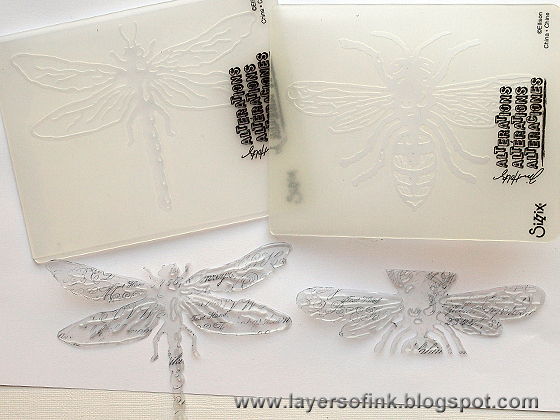
Emboss with the coordinating embossing folders. Modeling Film embosses beautifully. 
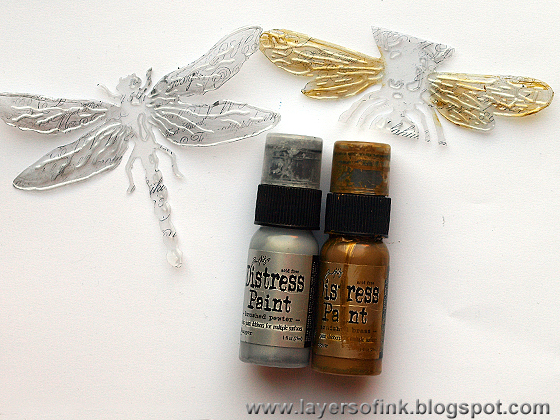
Swipe the wings on the back with Brushed Pewter and Tarnished Brass, for a touch of metal and shine. 
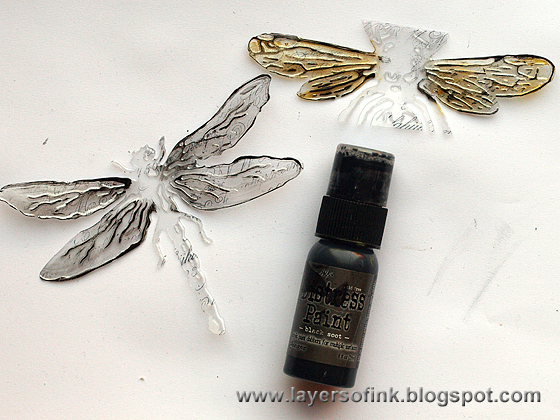
With your finger, apply some Black Soot paint along the embossed ridges.
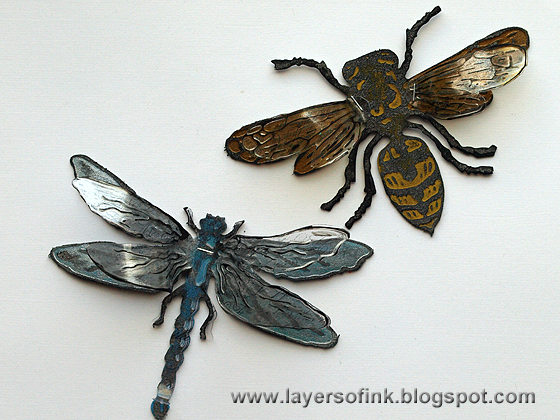
Heat the wings with your heat gun (be careful not to burn yourself) and shape them. Modeling Film keeps its shape perfectly. Staple the film dragonfly to the grungeboard one. Cut off the wings of the bee and staple them to the bee. If you want to you can also use a full film shape for the bee, but I wanted the bee's body to have a matte look.
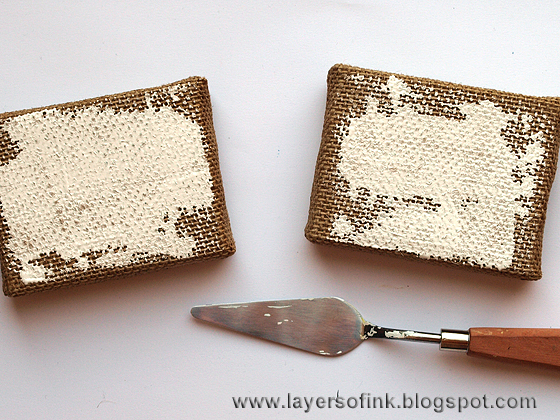
The mini burlap panels come in a pack of four, I used the two rectangular ones. Smear some gesso on them with a palette knife. Leave to dry.
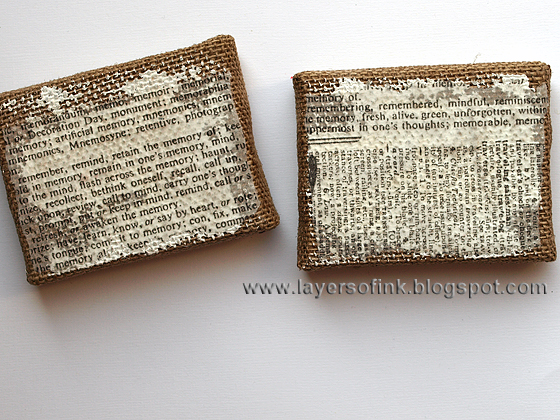
Tear two rectangles tissue wrap and adhere to the canvases with Matte Multi Medium. Add a layer of multi medium on top of the tissue paper too. As you can see, the gesso makes the tissue paper stand out better.
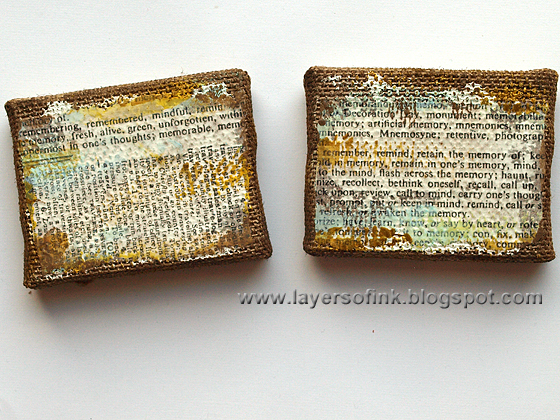
 
Smear some Distress Paint here and there on the canvases. I used Tumbled Glass, Mustard Seed, Tarnished Brass and Walnut Stain. I later added more silver to the dragonfly canvas.
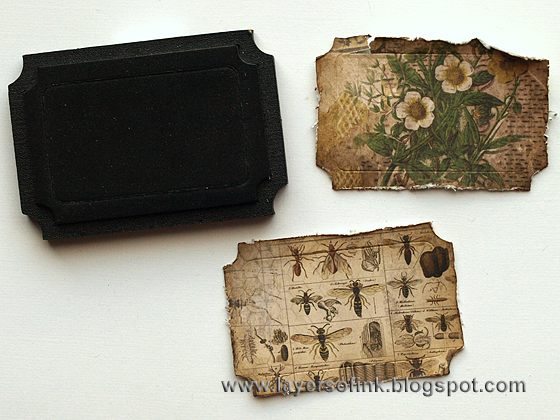
Die cut two tickets from patterned papers. I used papers from the Wallflower stash. Ink and distress the edges.

Embellish with a Word Band, Letterpress letter and Number brad. I like the combination of materials and textures on these canvases.
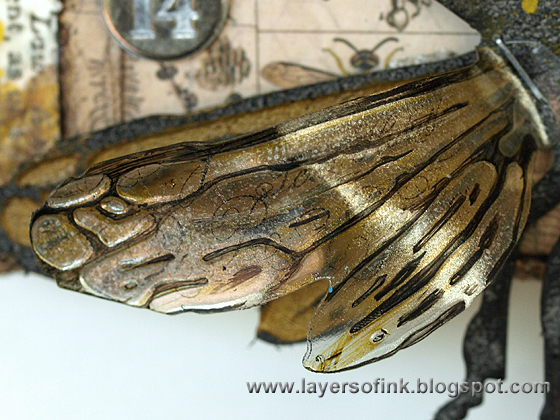
The combination of stamping, embossing, metallic and black paint on the wings look really nice.
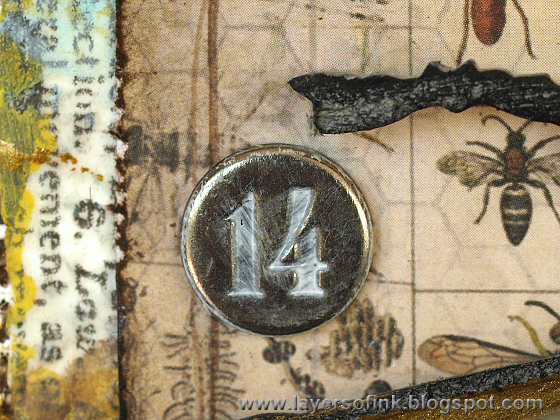
Paint was rubbed into the numbers.
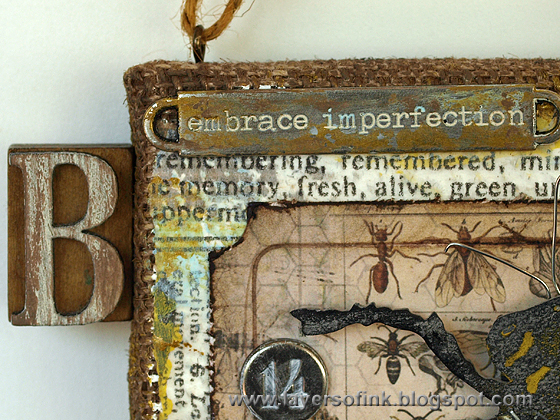
I also added some paint to the Letterpress Letters and the Word Bands, to distress them.
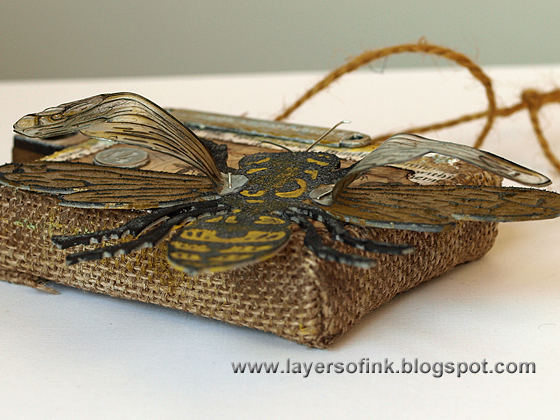
 
Here you can better see the dimension of the wings.

The dragonfly canvas is embellished in a similar way.
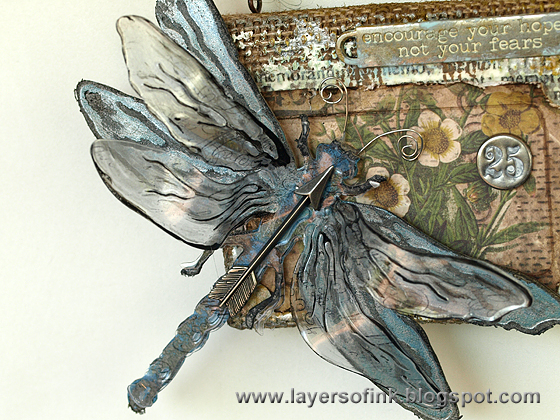
I glued a metallic arrow to the dragonfly.
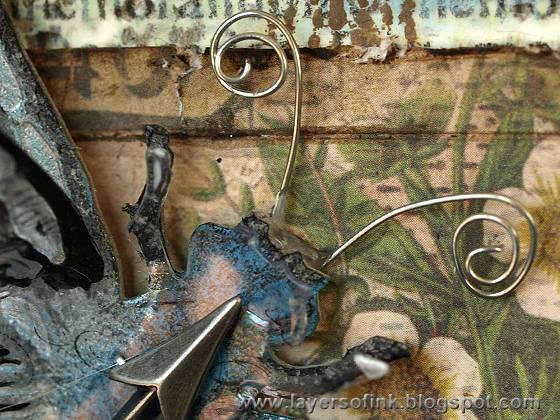
 
Roll some wire for the antennae.
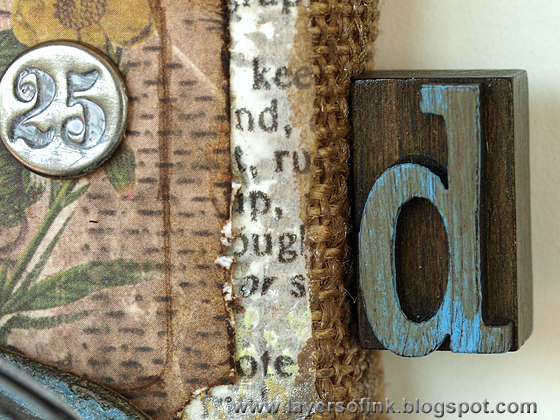
The letter was painted with Salty Ocean and Walnut Stain.
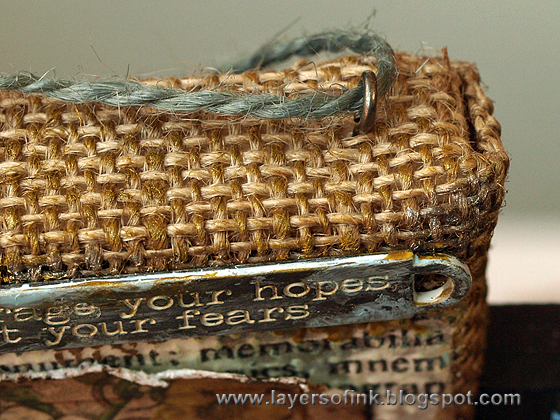
 
The burlap panels are made of wood, which I really like. It makes it easy to attach things and to hang them. Screw a Screw Eye on each side and tie some jute string as a hanger.
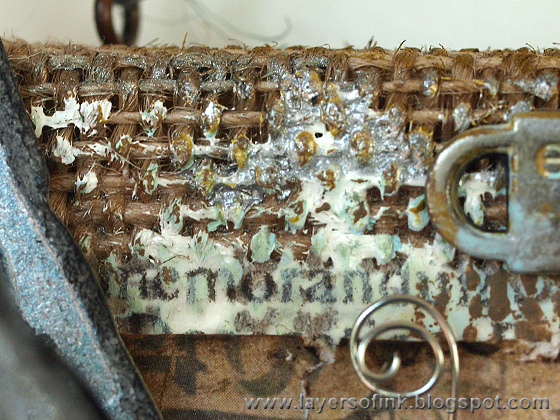
 
The paint, gesso and tissue paper look nice on the burlap background.
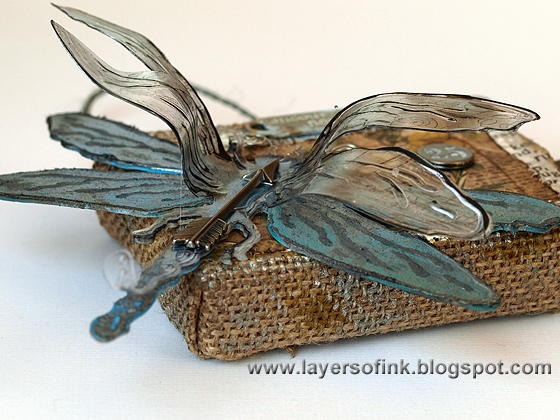
Here you can better see the dimension of the wings. I love Modeling Film.
 
There is also a Layered Butterfly die, and I'll share a tutorial using that die on the Sizzix blog next week.
 
Thank you so much for stopping by today!
 
Happy crafting!
 
Anna-Karin 

Supplies:
Surfaces: Tim Holtz idea-ology: Mini Burlap Panels, Grungeboard, Wallflower Paper Stash, Melangie Tissue Wrap; Stamper's Anonymous Wendy Vecchi: Clearly For Art Clear Modeling Film
Dies: Sizzix: Layered Bee, Layered Dragonfly, Mini Tickets
Stamps: Stamper's Anonymous Tim Holtz: Merchantile
Ink: Distress Ink: Black Soot, Gathered Twigs; Archival Ink: Jet Black
Paint: Distress Paint: Black Soot, Picket Fence, Salty Ocean, Peacock Feathers, Mustard Seed, Tarnished Brass, Brushed Silver, Tumbled Glass, Walnut Stain
Medium: Ranger Dina Wakley: White Gesso; Ranger Multi Medium Matte
Embellishments: Tim Holtz idea-ology: Jute String, Word Bands, Letterpress, Numbered Brads, Arrows Adornments, Screw Eye

Wednesday, July 30, 2014

12 tags of 2014 July

Hi everyone! I am in the last minute again with my version of Tim Holtz July 12 tags of 2014.
 
I made my tag pretty similar to Tim's, because I got these dies recently and wanted to use them again. For the background, I used Seedless Preserves Distress Paint, Peacock Feathers Distress Stain and Seedless Preserves and Dusty Concord Distress Ink. I wanted the background to be pretty dark, since this scene is at the bottom of the sea. I stamped the shrink plastic tag with a text stamp before dry embossing it and for the embossing I used the Ink Splats folder, which works well for irregular bubbles.

Here you can see the stamping on the plastic tag a little better. The seahorses were painted with pink and purple Distress Paints and I used beads for the eyes.

I really liked Tim's idea for making sand, it will also be perfect for 3-D projects. I used slightly different ingredients, adding some Vintage Photo Distress Embossing Powder and Black Soot Distress Glitter. The texture of the die cuts partly covered with Distress Embossing Powder is really cool.
 
Thank you so much for stopping by today! I'll be back tomorrow with a Sizzix tutorial.
 
Happy crafting!
 
Anna-Karin

Supplies:
Surfaces: Ranger: Manila Cardstock, Shrink Plastic; Tim Holtz idea-ology Grungeboard
Dies: Sizzix: Sand & Sea, Tag & Bookplates, Mini Sand & Sea
Embossing folder: Sizzix: Ink Splats & Wood Planks
Stamps: Stamper's Anonymous Tim Holtz: Curiosities
Ink: Ranger Archival Ink: Jet Black; Distress Ink: Seedless Preserves, Dusty Concord, Gathered Twigs
Paint: Distress Paint: Spun Sugar, Antique Linen, Picked Raspberry, Seedless Preserves, Rusty Hinge, Frayed Burlap, Picket Fence
Stain: Distress Stain: Peacock Feathers
Embossing powder: Ranger: clear UTEE; Distress Embossing Powder: Antique Linen, Vintage Photo
Glitter: Distress Glitter: Antique Linen, Black Soot
Embellishments: Tim Holtz idea-ology: Word Bands, Linen Ribbon, Jute String
 

Monday, July 28, 2014

Inktense Art Journaling

Hi and welcome! This week's Simon Says Stamp Monday Challenge is 'J is for'. Anything you can think of starting with or related to J. Fun! I made an art journal page.

I was planning to do a journal page, as my 'J' project, but about something else. Then after a bad knee day, I kept thinking 'j is for joint' (as in knee joint). One of my knees is a total mess after an old injury (see this layout), and this year it's gotten worse. I did this layout without much of a plan, and it is pretty busy and a little chaotic, a bit like how I imagine my knee to look on the inside. I played around with Inktense Blocks, which are great fun. If you add water, they turn into watercolour, but once dry, it is permanent. I started out making five different imperfect circles, all of them being partial and not complete.

After the first layer dried, I added details with a marker, stamps and stencils. The stamps I used are by Hero Arts. If you wet the Inktense Blocks a little, they can easily be applied right onto a rubber stamp. Mist a few times with water before stamping. Distress Ink was also sponged through stencils.

The tree was inked up with green and blue Inktense Blocks, when you mist the stamp with water the colours will blend. After stamping the tree, I misted it very lightly with water to make the paint wick out from the branches. Paint a shadow for the tree with a paint brush, picking the paint up from the blocks.

The cool splatters were done by applying water to a block and holding the block above the page, flicking paint off with a paint brush. The red circles were stamped with Red Geranium ink, these circles are also broken, which fit with the theme. I also stamped blue circles with the Painted Circle stamp and a blue Inktense block.

I printed this poem by Emily Dickinson on vellum and adhered with mini staples.

I also use used Simon Says Stamp Exclusive tree dies, symbolising my love of being outdoors.

I added a stamped bike, an word die cut and some tissue tape. This was done on watercolour paper and adhered to my large Dylusions Journal.

I hope you will join us this week in our 'J' challenge, as every week, one random participant wins a $50 gift voucher from Simon Says Stamp.

http://www.simonsaysstamp.com/


Thank you for stopping by today!!

Happy crafting!

Anna-Karin

Supplies:
Surfaces: Ranger Dyan Reaveley Dylusions Journal; watercolour paper
Dies: Simon Says Stamp: Tall Forest Tree, Life, Family, Love
Ink: Ranger Archival Ink: Jet Black, Red Geranium; Distress Ink: Faded Jeans
Stencils: Dina Wakley Ranger: Birds in Flight; The Crafter's Workshop: Mini Raindrops
Embellishments: Tim Holtz Idea-ology: Laboratorie Tissue Tape

Saturday, July 26, 2014

Drawing without an eraser

Hello everyone!  It is Saturday and there is a new CSI:Color, Stories, Inspiration challenge up. Here's the case file: 

My layout:
I made a simple watercolour background similar to the one in the inspiration image. I liked the white part at the top in the latter and imitated that by adding some clean water along the edge which made the watercolour paint move out into that water creating a soft edge. From the evidence items I used: branch, labels, and bird. From the testimony items, I was inspired by the food theme to scrap this photo of my son the first morning before he went to his new school, with the lunch bag that he had picked for himself. I typed a whole lot of journaling and placed it behind the layout.

I used some brand new Simon Says Stamp Exclusive dies and stamps on the layout, mainly from the This is the Life collection. The sun and tiny heart were stamped with Archival Ink and cut out with the coordinating dies. I love this sweet Cloud Bank die and it was a great home for some Tim Holtz rub-ons words. The background was stamped with different Tim Holtz stamps, some of them with Distress Ink and some were white embossed. 

The Bird Branch is a Sizzix die by Tim Holtz, which I have used quite a few times. I die cut it from white mat board and inked the branch with Tree Branch ink. The bird was cut off from the branch and painted with watercolours.

I wanted the paint brushes to both look a little like trees on the hill. They were stamped with Jet Black ink, coloured with Inktense pencils and then I added some water with a brush, turning the pencils into watercolour.

I love this quote stamp by Tim Holtz and thought it was perfect for the theme. It was stamped with Jet Black ink and coloured with Inktense pencils, again adding water to turn them into watercolour.

The frames come from the new Simon Set Stamp Frames set, which die cuts a whole bunch of labels and frames. I particularly like these thin frames.  

In the foreground, I stamped Tim Holtz flowers, first with Shabby Shutters ink (misting the stamp with water before stamping) and then again white embossed. Wait until the Distress Ink is totally dry before doing the heat embossing, otherwise the embossing powder will stick to the ink.

Thank you for stopping by today!

Happy crafting!

Anna-Karin

Supplies:
Surfaces: Daler & Rowney watercolour paper; Sizzix Little Sizzles White Mat Board; Neenah Smooth Solar White
Dies: Sizzix: Bird Branch; Simon Says Stamp: Cloud Bank, Frames, Road Trip, Tall Flowers
Stamps: Stamper's Anonymous Tim Holtz: Typography, Nature's Moment, Artful Tools, Just Thoughts, Stuff to Says; Simon Says Stamp: Road Trip
Ink: Ranger Archival Ink: Jet Black, Tree Branch, Vermillion, Pale Ochre; Distress Ink: Shabby Shutters, Salty Ocean
Paint: Daler & Rowney watercolours
Pencils: Derwent Inktense
Embossing powder: Ranger White
Embellishments: Tim Holtz Idea-ology: Label Letters, Index Labels, Botanicals Remnant Rubs, Life Quotes Remnant Rubs

Thursday, July 24, 2014

Mini Envelope Art Journal Page

Hi all! I hope you are well! Today I have a quick art journal page to share, made with Marisa Pawelko's new Sizzix Modern Surrealist line, and stamps and papers by Tim Holtz.
 
When I was a child, I used to now and then write down some information and thoughts on a small piece of paper and roll it up in more paper, stapling everything so that it couldn't be easily opened. All those little envelopes were placed in a wooden box that I had made (covered in stickers), and I decided not to open them until I was grown up. I wrote about the prices of various things, things we had done, memories thoughts, etc. This cute Mini Envelope die made me think of those notes and I thought they were perfect for an art journal page.
 
The SophistiCut is such a cute machine, made to be used with the Originals or On the Edge dies. It comes with two cutting pads, place your die on top of one of them, the paper to be die cut on top of the die and the last cutting pad at the top. I die cut the envelopes from leftover gelli prints, made with Sizzix embossing folders and paint by Dina Wakley. You can find my tutorial for these here. My leftovers were strips, the perfect size for this die, and also printed on both sides, which worked well for the envelopes.
 
These envelopes are 1.5 x 2 in big (small!) and would also be great for scrapbooking or cardmaking. I added some tissue tape to them, a label and chit chat stickers. The background was first covered with gesso and then painted with Distress Paints. When it was dry, I added some stamping. This text stamp is a favourite of mine.  
 
There are some ephemera papers layered under the envelopes. The envelopes open like this, a perfect place for journaling.

I just had to use the Big City die again, since I love it. Check out this post to see how I used it on a cuff bracelet and a tag. Today, I die cut it from paper covered with tissue tape. It was inked and misted with water to create a mottled effect. The talk bubble comes from the Thought Talk Bubbles die and I also die cut a chain border from a metal foil sheet. The leftover tiny squares were placed on the envelopes.
 
Thank you for stopping by my blog today!
 
Happy crafting!
 
Anna-Karin
 
Supplies:
Surfaces: Ranger Dylusions Small Creative Journal; Tim Holtz Idea-ology Wallflower paper stash; Neenah Smooth Solar White cardstock; Ranger/Vintaj Metal-pressions Silver sheets
Dies: Sizzix: Mini Envelope, Big City, Thought Talk Bubbles, Chained
Stamps: Stampers Anonymous Tim Holtz: Stuff to Say, Graph & Croc, Psychedelic Grunge
Ink: Ranger Archival Ink Jet Black, Tree Branch, Potting Soil; Distress Ink: Gathered Twigs
Paint: Distress Paint: Antique Linen, Frayed Burlap, Gathered Twigs
Medium: Ranger Dina Wakley White Gesso
Embellishments: Tim Holtz Idea-ology: Symphony Tissue Tape, Index Labels, Chit Chat stickers, Expedition Ephemera Pack
Tools: Sizzix SophistiCut Machine